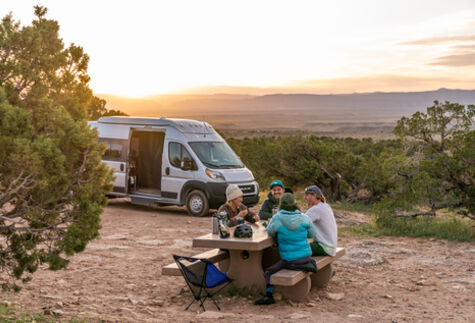
Camping during Halloween season has become a tradition for many families looking to RV among colorful leaves and crisp autumn air. Activities such as hayrides, haunted houses, and pumpkin picking have become part of my family’s Halloween camping routine, and we get into the seasonal spirit by decorating our rig with everything from skeletons to cobwebs and haunting homemade handicrafts.
Not only do Halloween crafts add a personal touch to our bewitching campsite décor, but making these treasured mementoes with my son has also become one of my fondest festive rituals. For those looking to start their own Halloween camping traditions, consider testing your creativity with these spooky RV-friendly crafts that provide extra entertainment for kids and grownups alike.
Table of Contents:
- Things to Think About When Planning RV Halloween Crafts
- RV Halloween Craft Ideas
- Toilet Paper Roll Beasties
- Gallon Jug Ghosts
- Fuse Bead Creatures
- Plastic Cup Spiders
- River Rock Spooks
- Displaying Your Creations
RV Halloween Craft Ideas
When thinking of how you’ll celebrate during this fall’s RV trips, try tackling these campground Halloween crafts that allow the whole family to join in the fun.
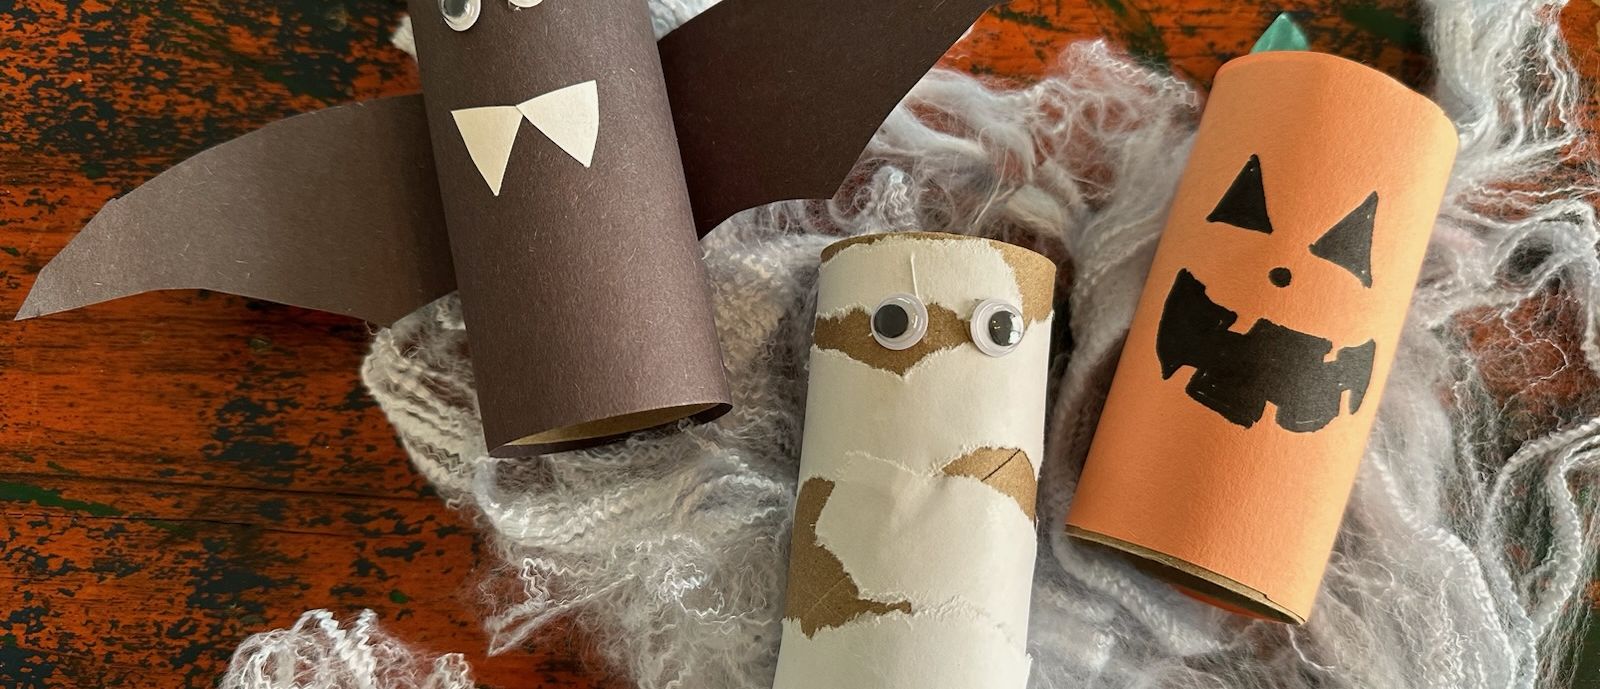
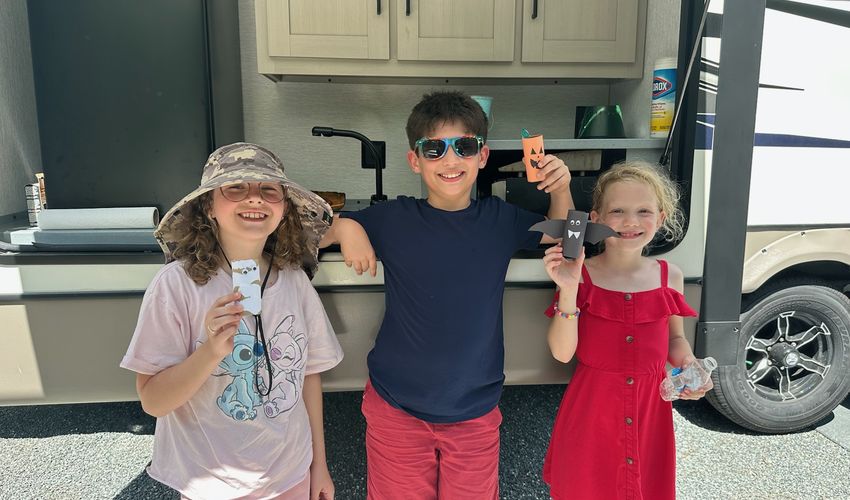
Toilet Paper Roll Beasties
These easy-to-make, low-mess creations make great use of your empty toilet paper rolls.
- What you’ll need: Empty toilet paper rolls, construction paper, child-safe scissors, glue, markers, googly eyes (optional)
- Instructions:
1. Cut construction paper to size and glue it onto empty toilet paper rolls to form the base of your creation.
2. Next, bring the creature to life using markers, googly eyes, and other craft items to create facial expressions.
- Construction ideas: Those wanting to take their creativity up a notch can make larger beasties out of spent paper towel rolls, or incorporate other recyclables, such as popsicle sticks.
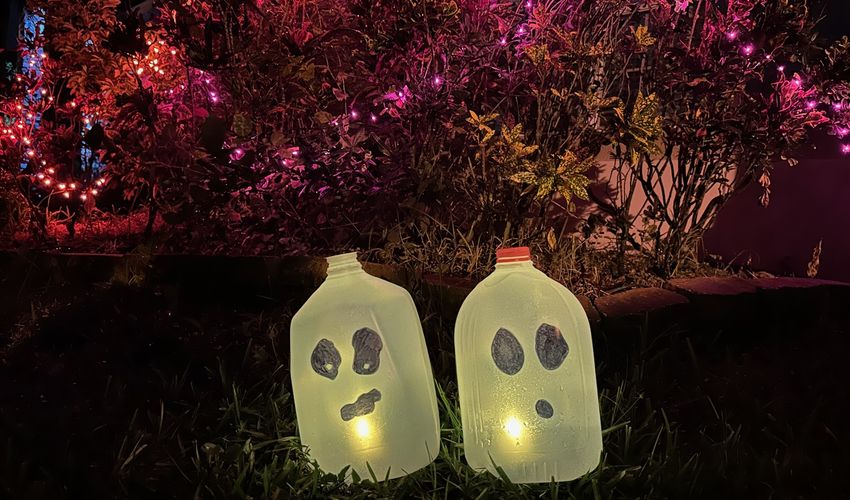
Gallon Jug Ghosts
Illuminate your campsite with these simple luminaries made using plastic water jugs.
- What you’ll need: Empty water or milk jugs, black marker, LED tea lights, pocketknife
- Instructions:
1. Clean out empty plastic jugs and peel off any stickers.
2. Use a black marker to draw ghost faces on one side of the jug, then have a grown-up carefully cut a hole in the other side that’s big enough to easily insert a tea light.
3. Come nightfall, turn on LED tea lights and place one in each jug. If needed, also place small rocks inside the ghosts to add weight and prevent them from blowing away.
- Construction ideas: Luminaries can also be made by cutting Halloween-themed designs into paper bags. But no matter which materials you choose for this project, avoid using traditional wax candles for safety reasons.
Fuse Bead Creatures
Put your fine motor skills to the test by creating creepy creatures out of easy-to-store fuse bead kits.
- What you’ll need: Fuse beads in a variety of colors, pegboards, ironing/parchment paper, tweezers (optional), iron
- Instructions:
- Choose a flat, level surface for your craft, and select a pegboard large enough for your design (many popular fuse bead patterns can be found online if needed).
- Gather beads and begin placing them on the pegboard to create your desired shape. Use tweezers to place beads as needed.
- Once complete, set your iron to medium heat (no steam) and gently place parchment paper over your beads and pegboard. Iron the project in a circular motion until the beads have melted together.
- Once cooled, the design can be removed from the pegboard for display.
- Construction ideas: Don’t plan on bringing an iron along on your camping trip? Instead, you can opt for larger beads that can be strung together to create Halloween themed bracelets, necklaces, and more.
Plastic Cup Spiders
Disposable drinking cups serve as a base for the pipe cleaner legs that make up these lightweight creepy crawlies.
- What you’ll need: Styrofoam or plastic cups, craft paint, paint brushes, pipe cleaners, hot glue gun and glue, googly eyes (optional), disposable table covering
- Instructions:
- Cover a picnic table or work surface with a tarp or disposable tablecloth.
- Use craft paint and brushes to cover the cups in your desired color and let dry completely. Depending on the cups used, it may take several coats to achieve the look you desire.
- Bend pipe cleaners into eight legs and adhere to the cups using hot glue.
- Finish your spiders by painting facial features or using glue to affix googly eyes and pipe cleaner mouths.
- Construction ideas: If desired, paper plates can be used in lieu of cups to create your spiders, as well as other Halloween icons, such as pumpkins, zombies, mummies, and more.
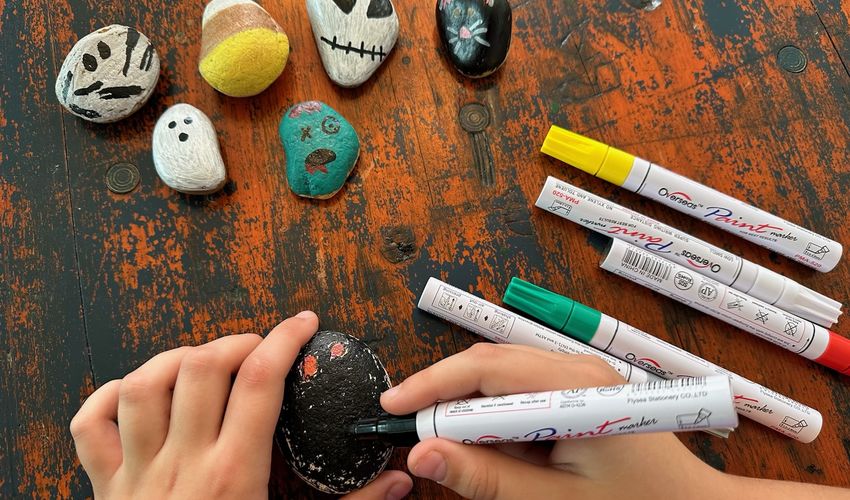
River Rock Spooks
Rocks come in every shape and size, making them the perfect canvas for colorful creations that require very few supplies to make.
- What you’ll need: Rocks, paint pens
- Instructions:
- Gather rocks and let your imagination run wild as you color them with spooky flair.
- Once your base paint color is completely dry add facial expressions and other details.
- Construction ideas: When selecting rocks, be sure not to take any from protected lands. If in doubt, you can purchase rocks suitable for painting from a craft supply store, along with other paintable items, such as foam pumpkins, canvas, wood, terra cotta, or even fabrics like t-shirts and pillowcases.
Displaying Your Creations
After the paint and glue have dried, your kiddos will want to show off their hard work. Think about how to showcase this artwork and bring along tape, removable hooks, and other supplies needed to hang your crafts and incorporate them into your Halloween campsite display.
Have a spooktacular Halloween campground trip! Share your own spooky RV crafts by tagging @gorving on IG and TikTok.