
Step-by-Step Guide to Setting Up Your Motorhome at the Campground
The process of setting up a motorhome at a campground can feel intimidating for first-time RVers. But with a step-by-step approach—and a little patience—you can master the setup in no time at all.

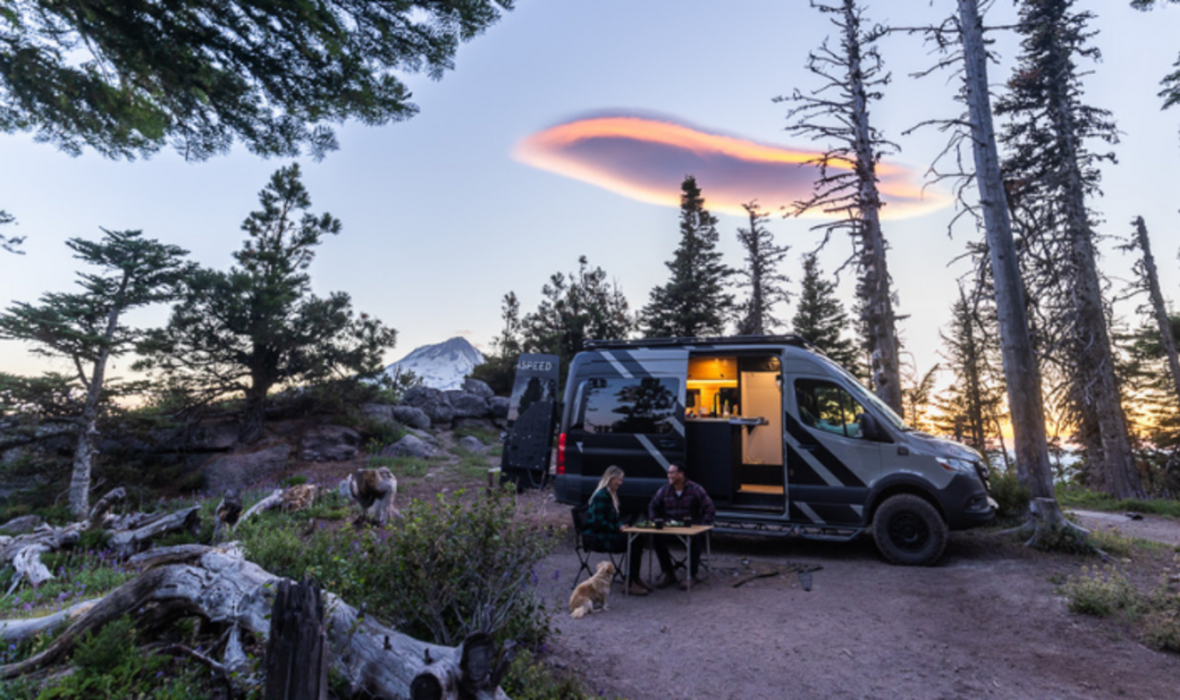
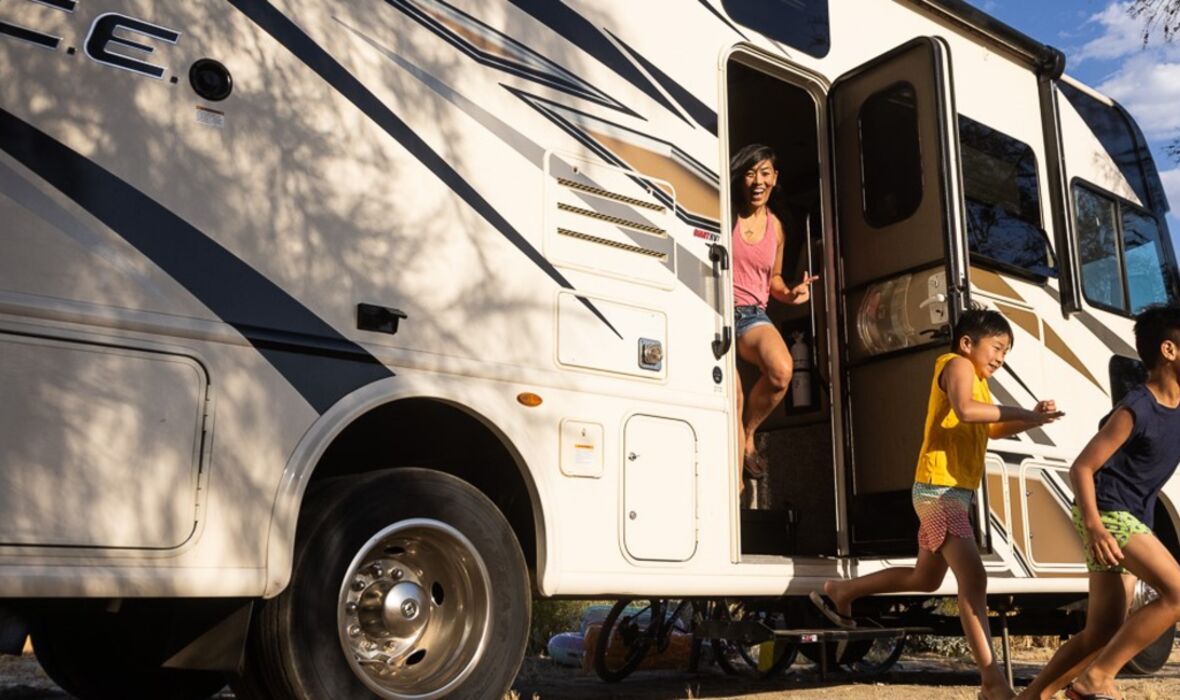
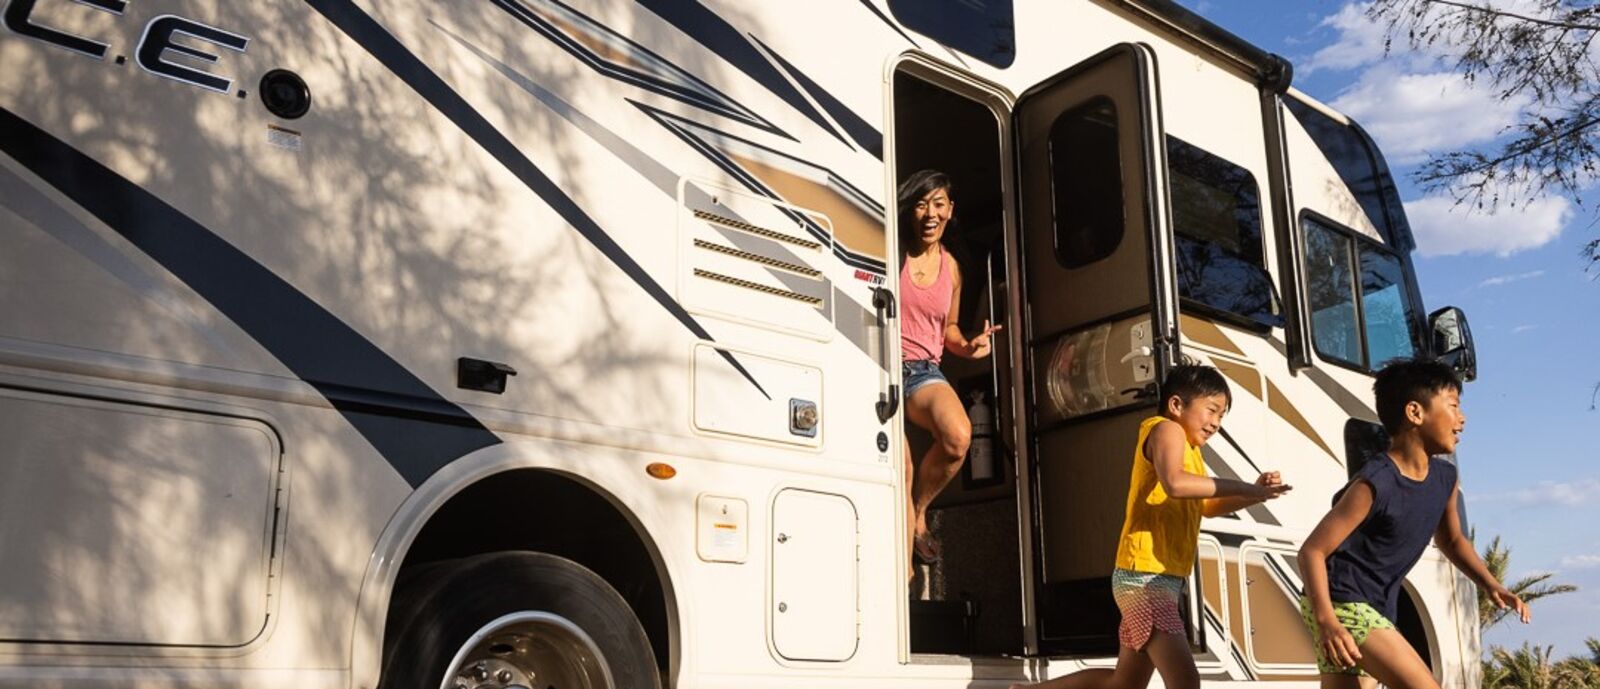
Whether you’re heading out in a luxurious Class A or a nimble Class B, the process of setting up a motorhome at a campground can feel intimidating for first-time RVers. But with a step-by-step approach—and a little patience—you can master the setup in no time at all.
This comprehensive guide from Go RVing walks you through the full setup process, including leveling, utility hookups, and safety precautions to ensure your first motorhome camping experience is a smooth one.
1. Check In at the Campground
Before heading to your site, stop at the main office to check in. You’ll typically receive:
- A campground map
- Your site number
- A list of campground rules and check-out times
This is also a great time to ask about Wi-Fi, bathhouse locations, and trash disposal procedures. Don’t be nervous to ask for advice or tips about pulling in to your campsite.
2. Inspect Your Campsite
Before pulling in, get out and walk the site. Look for:
- Low-hanging branches
- Fire pits or picnic tables that might block slide-outs
- Unlevel ground
- Posts or water spigots close to the pad
Make sure you’ll have enough space to safely deploy slide-outs and awnings.
3. Level the Motorhome
Leveling your motorhome ensures both comfort and proper operation of systems like the refrigerator and air conditioner. Many motorhomes have auto-leveling systems; if yours does, follow your owner's manual to operate it.
If you have manual leveling jacks:
- Place leveling blocks under the low-side tires
- Use a bubble level on the floor inside the RV to check side-to-side and front-to-back level
- Once level, chock the wheels to prevent movement.
Recommended Products:
4. Connect to Shore Power
Get your air conditioning and refrigerator running early, especially in warm weather.
- Identify the correct amperage (usually 50-amp for Class A, 30-amp for Class B/C)
- Use a high-quality surge protector like Progressive Industries EMS or Hughes Autoformer Power Watchdog
- Turn off the breaker at the pedestal before plugging in, then turn it back on
If the power pedestal doesn’t match your plug, use a heavy-duty adapter—often called a “dog bone” converter.
Recommended Products:
5. Hook Up the Water Supply
Safe water is essential—and park water pressure can be inconsistent. Use these tools:
- Water pressure regulator: Prevents damage to plumbing
- Inline water filter: Keeps your drinking water clean.
- Flush the spigot before connecting
- Connect the filter first, then hose, then RV inlet
- Use a dedicated drinking water hose, not a standard garden hose.
If your RV has a gravity fill tank, fill it by inserting the hose directly into the tank fill port. Always monitor the fill level to avoid overflows.
Recommended Products:
6. Hook Up the Sewer (If Staying Several Nights)
Dealing with wastewater isn't glamorous—but it’s necessary. Here’s how to do it right:
- Gloves: Wear waterproof gloves (disposable or reusable)
- Sewer hose: Attach one end to your motorhome’s waste outlet and the other to the campground’s sewer inlet
- Use a clear elbow connector to monitor the waste flow
- Always dump the black tank first, followed by the gray tank (shower/sink water) to help flush out the hose
- Keep black tank valve closed until it's time to dump—don’t leave it open
- Lift and drain the sewer hose before disconnecting and store it separately from freshwater gear
Recommended Products:
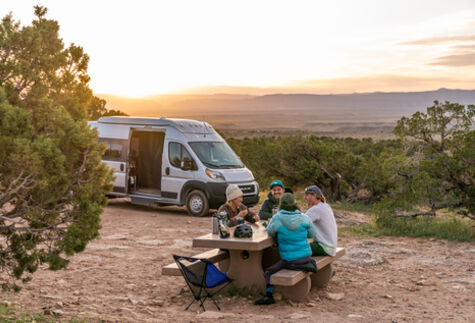
7. Extend the Slide-Outs
Once all hookups are complete:
- Check inside and outside for clearance before operating slide-outs
- Use a partner, phone, or walkie-talkie to monitor slide movement
- Re-check your leveling after deployment, as shifting weight can cause slight imbalance
Recommended Products:
8. Turn On the Propane
Open the valve on your propane tank and test-light your stove top burner to ensure flow.
- Listen and smell for leaks—never use open flame for leak detection
- Consider using a propane leak detector spray or built-in system
- Review this beginner’s guide to propane tanks for more safety tips
9. Prime the Water System
- Open faucets to release trapped air, starting with hot water
- Check for leaks at hose connections
- Make sure your water heater bypass is set correctly (especially after winterization)
- Review this beginner’s guide to your RV water systems
10. Turn on Appliances and Prep the Interior
- Turn on the refrigerator, air conditioner, and water heater
- Carefully open cabinets, as contents may have shifted in transit
- Add RV toilet chemicals to the toilet and flush with water to activate them
Recommended Products:
Final Tip: Practice Makes Perfect
The first time setting up may take 30–45 minutes. With practice, you’ll cut that time in half. Don’t rush—taking things slow helps you avoid mistakes and ensures a safe, relaxing camping experience.
Setting up your motorhome at a campsite might seem overwhelming at first, but with a systematic approach and a few helpful accessories, you’ll quickly become a confident camper. Whether you’re in a Class A, B, or C motorhome, following this step-by-step guide will help you enjoy more time outdoors and less time troubleshooting.
For more tips on getting started with RVing, check out the How to Set Up Your Fifth Wheel at the Campground video, brought to you by the RV Aftermarket and Go RVing. You can also visit Go RVing’s YouTube channel for more expert advice and inspiration for your next adventure.